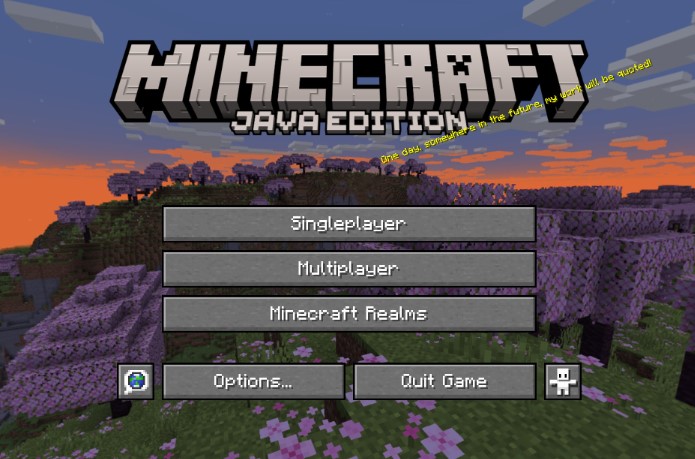
How to Create Your Own Minecraft Menu with Photoshop

Are you tired of the same old Minecraft menu? Want to give your game a fresh look that reflects your style? Look no further! In this guide, we’ll show you how to use Photoshop to design a custom menu for your Minecraft game. With a few tips and tricks, you’ll be able to make your menu look realistic and appealing, setting your game apart from the rest.
What is Minecraft?
Minecraft, developed by Mojang Studios, is a sandbox video game that allows players to explore, create, and survive in a blocky, pixelated world. Minecraft is better played on top Minecraft servers. The gameplay offers a vast open world with infinite possibilities, where players can gather resources, build structures, and interact with various creatures and other players.
The game’s popularity stems from its endless creativity and flexibility, enabling players to unleash their imaginations and craft unique experiences tailored to their preferences. Whether you’re a fan of exploration, building, survival, or creative expression, Minecraft offers something for everyone.
Getting Started
Before diving into Photoshop, it’s essential to have a clear vision of what you want your menu to look like. Consider your theme, color scheme, and any specific elements you want to include, such as icons or textures.
Once you have a plan in mind, open Photoshop and create a new document with the dimensions of your Minecraft menu. You can find templates online to help you get started if needed.
Designing Your Menu
Start by sketching out your design on paper or digitally to get a sense of the layout and composition. Then, begin transferring your ideas into Photoshop.
Use layers to organize your design elements, keeping things tidy and easy to edit. Experiment with different fonts, textures, and effects to achieve the look you want.
Don’t be afraid to play around with colors and gradients to add depth and visual interest to your menu. Consider incorporating elements from the Minecraft universe, such as pixel art or block textures, to tie your design to the game.
Adding Interactivity
Once you’re happy with your design, it’s time to add interactivity to your menu. You can do this by creating buttons for options like “Play,” “Settings,” or “Quit,” using layer styles to give them depth and dimension.
Consider adding hover effects or animations to make your menu feel more dynamic and engaging. This will help draw players in and make navigating your menu a more enjoyable experience.
Testing and Tweaking
Before finalizing your menu, be sure to test it in-game to ensure everything looks and functions as intended. Make any necessary adjustments based on feedback from playtesting, focusing on usability and readability.
Once you’re satisfied with your menu, save it as a PNG file with a transparent background to preserve its quality and compatibility with Minecraft.
READ ALSO: Mastering the Art of Image Editing
Conclusion
Creating your own Minecraft menu with Photoshop is a fun and creative way to personalize your gaming experience. By following these steps and letting your imagination run wild, you can design a menu that reflects your style and sets your game apart from the rest.
