How to Enhance Your Photos with Basic Editing Techniques?

Photoshop is a powerful tool for enhancing and transforming photos. For instance, there’s an image of the POC resident list that was sent and looks unclear, Photoshop can be used to improve clarity and make it more readable.

There are several things you can do with the software like allowing you to correct common issues such as lighting, color, and composition. We’ll walk through some basic editing techniques that will help you improve your photos and get the most out of this powerful software.

Correcting Exposure and Brightness

Exposure and brightness play a major role in how your photos look. Photoshop provides several tools to help you adjust these factors, including the Levels and Brightness/Contrast tools. By adjusting these settings, you can make your photos look brighter and more vibrant.

Adjusting Color Balance

Color balance is another important factor to consider when editing photos. Using Photoshop enables you to do plenty of things. For instance, you can adjust any of the following:

  • Hue
  • Saturation
  • Brightness

This gives you control over the overall mood and feel of your images.

Cropping and Resizing

Cropping and resizing are two simple techniques that can greatly improve your photos. By cropping, you can remove distracting elements from the image and improve the overall composition. By resizing, you can adjust the size and aspect ratio of your photos to better fit your needs.

Removing Imperfections

Photoshop provides several tools to help you remove imperfections from your photos, including the Clone Stamp and Healing Brush tools. These tools allow you to remove blemishes, spots, and other distracting elements from your images, giving you a cleaner and more polished result.

Enhancing Detail and Sharpness

Sharpness and detail play a major role in the overall quality of your photos. The Unsharp Mask tool allows you to enhance the sharpness of your images, making your photos look more detailed and defined.

Adding Finishing Touches

Once you’ve completed the basic editing techniques, you can add a few finishing touches to your photos to make them look their best. This may include adding a filter, adjusting the saturation, or adding a vignette.

Photoshop is a powerful tool for enhancing and transforming photos. By using the techniques outlined above, you can improve your photos and get the most out of this powerful software. With a little practice and creativity, you’ll be able to take your photos to the next level!

Photoshop Tutorials: Why Learn Photoshop?

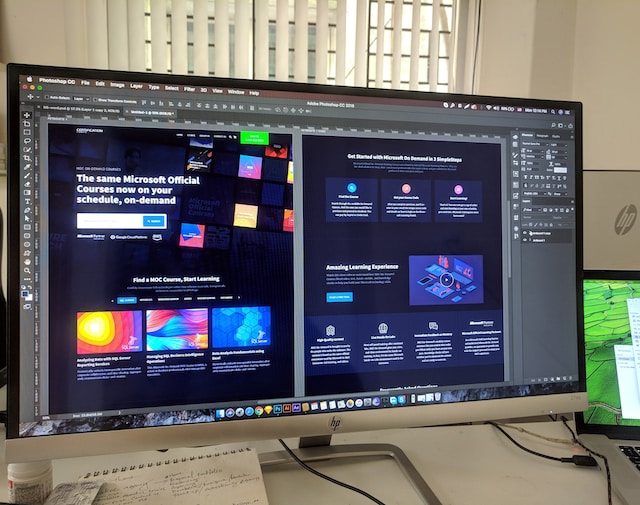
Adobe Photoshop on a Desktop Computer

Even with Photoshop basics, you can do a lot. This know-how is not only essential for graphic designers, but can also be a valuable tool in other jobs. Visual aids are needed in a variety of situations, whether for a presentation, on the company’s social media presence, or for self-marketing on your own website. There are thousands of applications and the same applies to all of them. With a little knowledge of Photoshop, the result can be designed much more professionally.

What can you use Photoshop for?

There are many applications for Photoshop. Here are some of the most common reasons to learn Photoshop:

  • Creation of professional-looking visual aids
  • Create SNPL MART marketing materials quickly and easily
  • Easily retouch photos
  • Simple and complete photo editor

What is covered in a Photoshop Basics course?

In the Photoshop basics course, you will learn what is possible with Photoshop. The trainer walks you through the range of possibilities so you get an idea of ​​what you can achieve with Photoshop. This includes, for example, retouching, sharpening, and brightening photos, as well as knowledge of resolution, print results, and changing the section and size.

Exercises are made so that you can incorporate what you have learned and see the results for yourself.

Topics covered include, for example:

  • How the program works
  • Apply filters sensibly
  • Understanding the user interface
  • Get to know tools and pallets
  • Isolate subjects
  • Creation of files
  • Choose the right resolution
  • Use layers and masks
  • Stitching together photos
  • Color correction and image optimization
  • File export for print and web

What can you expect from Photoshop advanced tutorials?

The advanced tutorial is more about learning some tips and tricks to enhance the use and to provide the work with Photoshop with that extra touch. In some advanced courses, it is also possible to choose a session with a specific focus. For example, photo retouchers have different training needs than Photoshop users in marketing. In photo retouching, for instance, the advanced course is more about color channels, layers, and various retouching tools, while marketing users are more interested in choosing the right fonts and using them well.

Mastering Photo Composites: A Step-by-Step Guide to Creating Stunning Images with Photoshop

Photo composites have become an increasingly popular way to create visually stunning images, combining elements from multiple photos into one cohesive scene. In this article, we’ll walk you through the process of creating a photo composite in Adobe Photoshop, from start to finish.

Step 1: Select Your Images

The first step in creating a photo composite is to select the images that you want to use. Look for photos that complement each other, and consider how they will fit together in the final composite. It can be helpful to sketch out a rough layout or create a mood board to guide your selections.

Step 2: Preparing the Background

Once you have your images selected, start by creating a new document in Photoshop with the desired size and resolution. This will serve as your background. Then, open the first image and copy it into the new document by going to Edit > Copy, or using the keyboard shortcut “Ctrl + C”.

Step 3: Adding Layers

With the first image pasted into your new document, it’s time to add the next layer. Repeat the process of copying the image into the document, but this time use the “Ctrl + Shift + V” keyboard shortcut to paste it as a new layer. You can rename each layer to keep track of which image is which.

Step 4: Masking Layers

Following that, utilize layer masks to merge the pictures. To achieve this, choose the layer you intend to mask and press the “Add layer mask” option located at the Layers panel’s bottom. This action will result in the creation of a mask that conceals the layer, granting you the ability to exhibit only specific portions of the image. Utilize a brush with soft edges to paint over the image sections you desire to display, and utilize a black brush to conceal the portions you do not want to reveal.

Step 5: Blending Modes

To further blend the layers together, try experimenting with different blending modes. This allows you to change how the layers interact with each other, for example, making a layer darker or lighter. To change the blending mode, simply select the layer and choose a mode from the drop-down menu in the Layers panel.

Step 6: Transformations

It may be necessary to resize, rotate, or warp your layers to make them fit together seamlessly. To perform these actions, select the layer you wish to manipulate, and go to Edit > Transform or use the keyboard shortcut “Ctrl + T”. This will activate a set of transformation tools which you can use to modify the size and form of the layer.

Step 7: Finishing Touches

Finally, make any necessary final tweaks to the color, contrast, and other elements to complete your composition. You have the option to include text or any other graphical elements to improve the overall appearance. Once you are satisfied with the outcome, save your final image and share it with everyone.

Creating photo composites in Photoshop is a fun and creative way to experiment with your images and produce stunning results. With a few basic tools and techniques, you can combine elements from multiple photos to create a truly unique and captivating image. So why not give it a try? The possibilities are endless!

𐌢